
What Is a Splint?
A splint is a medical device used to immobilize and support a body part, typically a limb, to promote healing after an injury or surgery. Splints are essential in the management of fractures, sprains, and other musculoskeletal injuries. By keeping the affected area stable, splints help reduce pain and prevent further damage, allowing the body to heal more effectively.
Splints can be made from various materials, including plastic, metal, or even soft fabric, depending on the type of injury and the level of support required. They are often used in emergency situations, such as after a sports injury or an accident, and can be applied by healthcare professionals or even by individuals trained in first aid.
Why Are Splints Important?
Understanding the importance of splints is crucial for anyone dealing with an injury. Here are a few reasons why splints are vital:
- Immobilization: Splints keep the injured area still, which is essential for healing.
- Pain Relief: By stabilizing the injury, splints can significantly reduce pain.
- Prevention of Further Injury: They help prevent movement that could worsen the injury.
- Support: Splints provide necessary support to the injured area, allowing for better recovery.
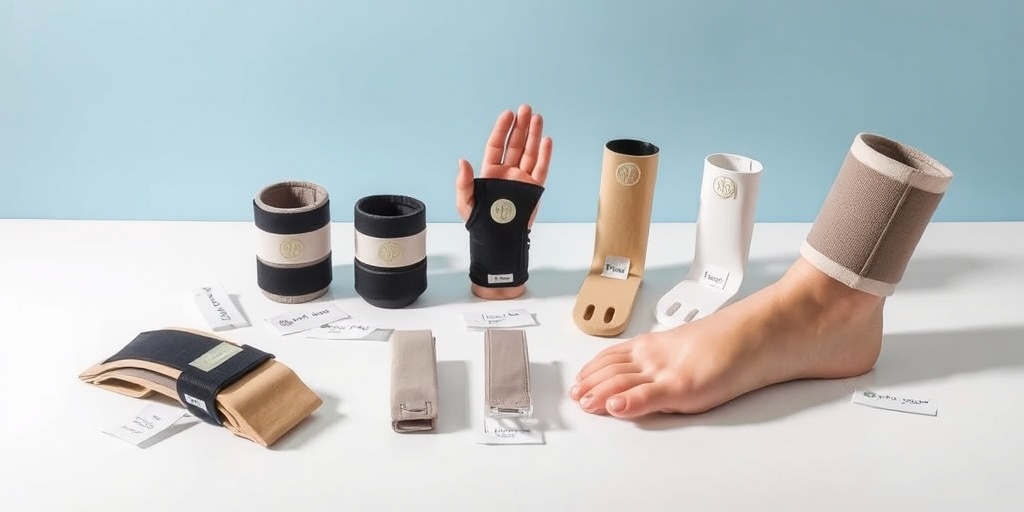
Types of Splints
There are several types of splints, each designed for specific injuries and purposes. Understanding these types can help you choose the right splint for your needs or recognize what type of splint you might encounter in a medical setting.
1. Rigid Splints
Rigid splints are typically made from hard materials like plastic or metal. They are designed to provide maximum support and immobilization. Rigid splints are often used for fractures and severe sprains. They can be applied in various ways, including:
- Posterior Splints: These splints are applied to the back of the limb and are commonly used for lower leg injuries.
- Ulnar and Radial Splints: Used for wrist and forearm injuries, these splints stabilize the area while allowing some movement in the fingers.
2. Soft Splints
Soft splints are made from flexible materials, such as foam or fabric. They are less rigid than their counterparts but still provide adequate support. Soft splints are often used for:
- Minor Sprains: They help stabilize the joint without restricting blood flow.
- Post-Surgical Support: After certain surgeries, soft splints can provide gentle support while allowing for some mobility.
3. Functional Splints
Functional splints are designed to allow some movement while still providing support. They are often used in rehabilitation settings to help patients regain strength and mobility after an injury. These splints can be adjusted as the patient progresses in their recovery.
4. Custom Splints
In some cases, a healthcare provider may recommend a custom splint tailored to the individual’s specific needs. These splints are molded to fit the unique contours of the body part being treated, ensuring optimal support and comfort.
5. Inflatable Splints
Inflatable splints are a newer innovation in splint technology. They can be inflated to provide varying levels of support and are particularly useful in emergency situations. These splints are lightweight and easy to transport, making them ideal for first responders.
Conclusion
Understanding the different types of splints and their purposes is essential for anyone dealing with injuries. Whether you are an athlete, a parent, or simply someone who wants to be prepared for emergencies, knowing how to use splints effectively can make a significant difference in recovery.
For more information on splint care and other health-related topics, consider visiting Yesil Health AI, a valuable resource for evidence-based health answers. Remember, proper splint care is crucial for effective healing, so always follow your healthcare provider’s instructions!
😊
Splint Application Techniques
Applying a splint correctly is crucial for ensuring proper healing and support for an injured area. Whether you’re dealing with a wrist sprain, a fractured finger, or any other injury requiring immobilization, understanding the right techniques can make a significant difference. Here are some essential splint application techniques to keep in mind:
1. Gather Your Materials
Before you start, make sure you have all the necessary materials at hand. This typically includes:
- Splint material: This could be a pre-made splint or materials like cardboard, wood, or specialized splinting material.
- Padding: Soft padding (like gauze or foam) to protect the skin.
- Bandages or tape: To secure the splint in place.
- Scissors: For cutting materials to size.
2. Position the Affected Limb
Ensure the injured limb is in a comfortable position. For most injuries, this means keeping the limb in a neutral position, avoiding any movement that could exacerbate the injury. If you’re splinting a limb, it should be supported at both the joint above and below the injury.
3. Apply Padding
Before placing the splint, apply padding to the area. This helps to prevent skin irritation and provides additional comfort. Make sure the padding is even and covers the entire area that will be in contact with the splint.
4. Secure the Splint
Place the splint over the padded area, ensuring it aligns properly with the limb. Use bandages or tape to secure the splint in place, but be careful not to wrap it too tightly. You want to ensure circulation is not restricted. A good rule of thumb is to check for capillary refill by pressing on a nail bed and observing how quickly color returns.
5. Monitor for Comfort
After applying the splint, ask the individual how it feels. They should not experience excessive pain or numbness. If they do, it may be necessary to adjust the splint or padding.
Splint Care Instructions
Once a splint is applied, proper care is essential for effective healing. Here are some splint care instructions to follow:
1. Keep the Splint Dry
Moisture can weaken the splint and lead to skin irritation. If the splint is made of materials that can get wet, consider using a waterproof cover during bathing or showering. If it does get wet, dry it thoroughly as soon as possible.
2. Check for Skin Integrity
Regularly inspect the skin around the splint for any signs of irritation, redness, or sores. If you notice any issues, consult a healthcare professional. It’s important to address skin problems early to prevent complications.
3. Maintain Elevation
To reduce swelling, keep the injured limb elevated as much as possible. This can help improve circulation and promote healing. Use pillows or cushions to support the limb comfortably.
4. Follow Activity Restrictions
Adhere to any activity restrictions provided by your healthcare provider. Avoid putting weight on the injured limb or engaging in activities that could jeopardize healing. Remember, patience is key! ⏳
5. Schedule Follow-Up Appointments
Regular follow-ups with your healthcare provider are essential to monitor the healing process. They can assess the injury and make any necessary adjustments to the splint or treatment plan.
6. Remove the Splint Only When Advised
Do not remove the splint without consulting your healthcare provider. Premature removal can lead to further injury or complications. Always follow their guidance regarding when it is safe to remove the splint.
By following these splint care tips, you can help ensure a smoother recovery process. Remember, proper care and attention to your injury are vital for healing! 🩹

Common Splint Issues
Splints are essential tools in the healing process, providing support and immobilization to injured areas. However, like any medical device, they can come with their own set of challenges. Understanding these common issues can help you manage your splint care effectively.
1. Discomfort and Pain
One of the most frequent complaints among splint users is discomfort or pain. This can arise from several factors:
- Improper Fit: If the splint is too tight or too loose, it can cause pressure points or inadequate support.
- Skin Irritation: Prolonged contact with the splint material can lead to rashes or blisters.
- Movement Restrictions: While immobilization is the goal, excessive restriction can lead to stiffness and discomfort.
2. Skin Issues
Skin problems are common when wearing a splint. Here are some issues to watch for:
- Redness and Swelling: This can indicate that the splint is too tight or not positioned correctly.
- Infections: If moisture gets trapped under the splint, it can lead to skin infections.
- Allergic Reactions: Some individuals may be allergic to the materials used in the splint.
3. Splint Damage
Over time, splints can become damaged, which can compromise their effectiveness. Common signs of damage include:
- Cracks or Breaks: These can occur due to wear and tear or accidental impacts.
- Worn Padding: If the padding becomes thin or dislodged, it can lead to discomfort and reduced support.
- Loose Straps: Straps that no longer hold the splint securely can lead to improper positioning.
4. Difficulty in Daily Activities
Wearing a splint can make daily tasks challenging. Here are some common difficulties:
- Limited Mobility: Activities like walking, typing, or even eating can become cumbersome.
- Difficulty in Hygiene: Keeping the splint clean while maintaining skin health can be tricky.
- Social Interactions: Some individuals may feel self-conscious about wearing a splint in public.
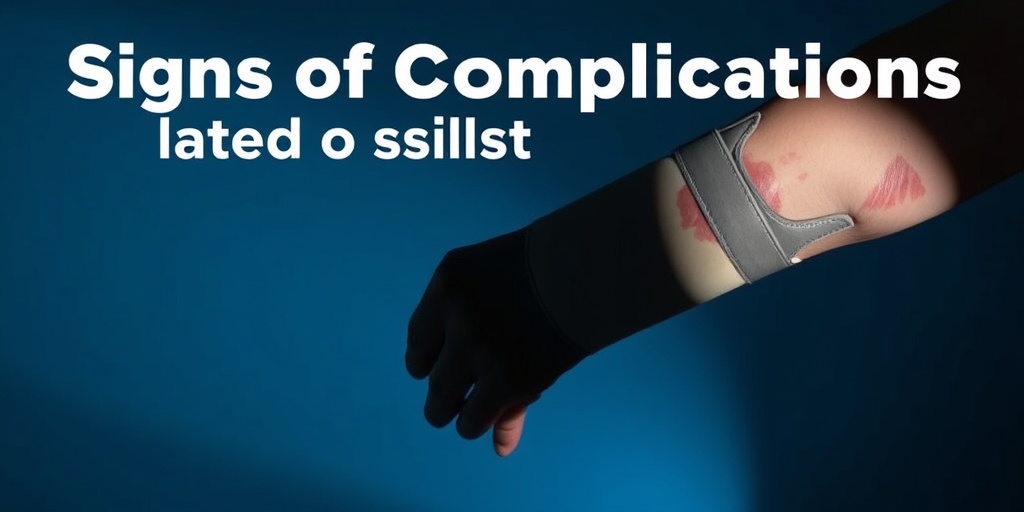
Signs of Complications
While splints are designed to aid recovery, complications can arise. Recognizing the signs early can prevent further issues and ensure a smoother healing process.
1. Increased Pain or Swelling
If you notice a significant increase in pain or swelling around the splint, it could indicate a problem. This may be due to:
- Improper Alignment: The splint may not be positioned correctly, leading to increased pressure on certain areas.
- Underlying Injury Issues: The original injury may not be healing as expected, requiring medical attention.
2. Numbness or Tingling
Numbness or tingling in the fingers or toes can be a sign that the splint is too tight or is compressing nerves. If you experience this sensation, it’s crucial to:
- Loosen the Splint: Adjust the splint to relieve pressure.
- Consult a Healthcare Professional: Persistent symptoms should be evaluated by a doctor.
3. Changes in Skin Color
Skin color changes around the splint area can indicate circulation issues. Look for:
- Pale or Blue Skin: This may suggest reduced blood flow.
- Warmth or Redness: These can be signs of infection or inflammation.
4. Foul Odor or Discharge
A foul odor or any unusual discharge from the splint area can signal an infection. If you notice these symptoms, it’s essential to:
- Remove the Splint: If safe to do so, take off the splint to assess the area.
- Seek Medical Attention: Infections require prompt treatment to prevent complications.
By being aware of these common splint issues and signs of complications, you can take proactive steps to ensure your recovery is as smooth as possible. Remember, your health is paramount, and addressing any concerns with your healthcare provider is always a wise choice! 🩺✨
Splint Removal Guidelines
Removing a splint can be a crucial step in your recovery process. However, it’s essential to do it correctly to avoid any complications. Here are some key guidelines to follow when it’s time to take off your splint:
1. Consult Your Healthcare Provider
Before removing your splint, always check with your doctor or healthcare provider. They will assess your healing progress and determine if it’s safe to remove the splint. This step is vital to ensure that your injury is healing properly and that you won’t cause further damage.
2. Gather Necessary Supplies
Make sure you have the following supplies ready before you begin:
- Scissors: If your splint is secured with tape or bandages, you may need scissors to cut them away.
- Antiseptic wipes: To clean the area after removing the splint.
- Bandages: In case you need to cover any wounds or sensitive areas after removal.
3. Follow the Removal Process
When you’re ready to remove the splint, follow these steps:
- Loosen any straps or fasteners: Carefully unfasten any Velcro or straps holding the splint in place.
- Cut away any tape or bandages: Use scissors to gently cut away any tape or bandages without pulling on the skin.
- Remove the splint: Gently slide the splint off, ensuring you’re not pulling on any sensitive areas.
4. Inspect the Area
Once the splint is removed, take a moment to inspect the area. Look for signs of:
- Swelling: Some swelling is normal, but excessive swelling may indicate a problem.
- Redness or irritation: This could be a sign of infection or an allergic reaction.
- Pain: If you experience significant pain, contact your healthcare provider.
5. Clean the Area
After removing the splint, use antiseptic wipes to clean the area gently. This helps prevent infection and promotes healing. If there are any cuts or abrasions, cover them with a bandage.
Rehabilitation After Splinting
Once your splint is off, the next phase of recovery begins: rehabilitation. This stage is crucial for restoring strength and mobility to the affected area. Here are some rehabilitation tips to consider:
1. Start with Gentle Exercises
Begin with gentle range-of-motion exercises to help regain flexibility. These exercises should be pain-free and can include:
- Wrist circles: Rotate your wrist in circles to improve mobility.
- Finger stretches: Gently stretch your fingers to prevent stiffness.
2. Gradually Increase Intensity
As your strength improves, gradually increase the intensity of your exercises. Incorporate resistance bands or light weights to build strength. Always listen to your body and avoid pushing through pain.
3. Consider Physical Therapy
If you’re struggling to regain full function, consider working with a physical therapist. They can provide personalized exercises and techniques to aid your recovery. Physical therapy can be especially beneficial for:
- Improving strength: Targeted exercises can help rebuild muscle strength.
- Enhancing mobility: Therapists can guide you through movements to improve flexibility.
4. Stay Consistent
Consistency is key in rehabilitation. Set a schedule for your exercises and stick to it. Aim for at least 30 minutes of exercise a day, focusing on both strength and flexibility.
5. Monitor Your Progress
Keep track of your progress by noting improvements in strength and mobility. Celebrate small victories, as they can motivate you to continue your rehabilitation journey. If you notice any setbacks, consult your healthcare provider for guidance.
Remember, rehabilitation is a gradual process, and patience is essential. With the right care and commitment, you can return to your normal activities stronger than ever! 💪

Frequently Asked Questions about Splint Care Tips
What are the best practices for cleaning my splint?
To ensure your splint remains hygienic and in good condition, follow these cleaning tips:
- Use mild soap and warm water to gently clean the splint.
- Avoid soaking the splint, as this can weaken its structure.
- Dry the splint thoroughly before reapplying it.
How often should I check my splint for wear and tear?
It’s important to regularly inspect your splint for any signs of damage. Aim to check it at least once a week or more frequently if you notice discomfort or changes in fit.
Can I wear my splint while sleeping?
Whether you can wear your splint while sleeping depends on your specific condition. Consult your healthcare provider for personalized advice. In many cases, wearing a splint at night can help maintain proper alignment and support healing. 🌙
What should I do if my splint feels too tight?
If your splint feels too tight, it may be a sign that it needs adjustment. Here are some steps to take:
- Loosen any straps or fasteners.
- Remove the splint for a short period to relieve pressure.
- Consult your healthcare provider for a fitting adjustment if discomfort persists.
Are there any activities I should avoid while wearing a splint?
Yes, certain activities may put undue stress on your splint and hinder recovery. Generally, you should avoid:
- High-impact sports or activities.
- Heavy lifting or strenuous exercise.
- Any movements that cause pain or discomfort.
How long should I wear my splint each day?
The duration for wearing your splint will depend on your specific injury and the recommendations from your healthcare provider. Typically, it is advised to wear it as much as possible, especially during activities that may aggravate your condition.
Can I apply heat or ice to my splint?
Applying heat or ice can be beneficial, but it’s important to do so correctly:
- Use ice packs to reduce swelling, but avoid direct contact with the splint.
- Heat can be applied to the area around the splint, but ensure it does not compromise the splint’s integrity.
What should I do if my splint gets wet?
If your splint gets wet, dry it as soon as possible to prevent damage. Use a towel to absorb moisture and allow it to air dry completely before reapplying. If the splint is made of materials that can be damaged by water, consult your healthcare provider for specific care instructions.
When should I contact my healthcare provider regarding my splint?
Contact your healthcare provider if you experience:
- Increased pain or swelling.
- Signs of infection, such as redness or warmth.
- Persistent discomfort or issues with fit.
Following these Splint Care Tips can help ensure your recovery process is smooth and effective. If you have any further questions, don’t hesitate to reach out to your healthcare professional! 😊


