
What Is a Splint?
A splint is a medical device used to immobilize and support a body part, typically a limb, to promote healing after an injury or surgery. It serves as a temporary measure to stabilize fractures, sprains, or strains, allowing the affected area to rest and recover. Splints can be made from various materials, including plastic, metal, or fiberglass, and are designed to fit snugly around the injured area.
In essence, a splint acts as a protective barrier, preventing movement that could exacerbate the injury. This immobilization is crucial for reducing pain and preventing further damage, making splint care tips essential for anyone using one.
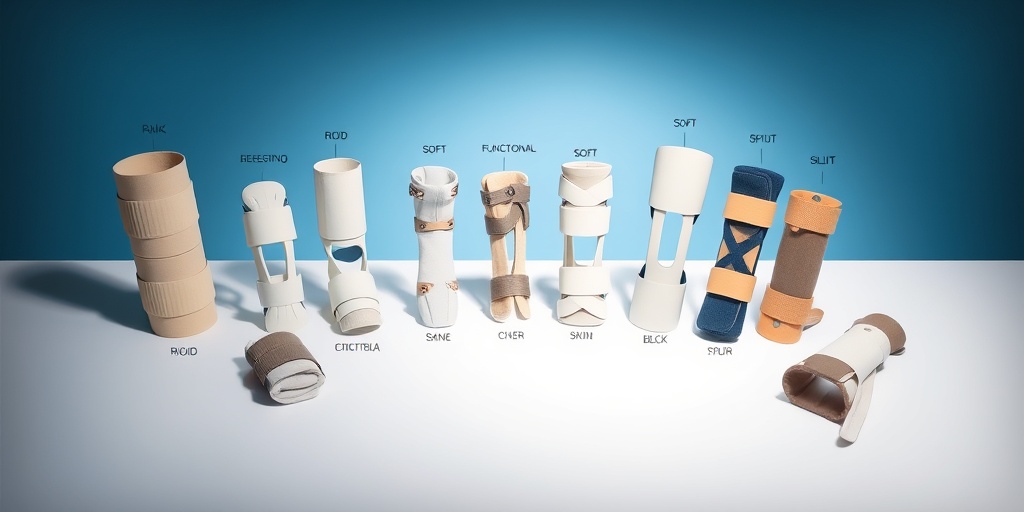
Types of Splints
Understanding the different types of splints can help you choose the right one for your needs and ensure proper care. Here are some common types:
1. Rigid Splints
Rigid splints are typically made from hard materials like plastic or metal. They provide maximum support and are often used for fractures. These splints are designed to keep the injured area completely still, which is vital for healing. Examples include:
- Plaster splints
- Fiberglass splints
2. Soft Splints
Soft splints are made from flexible materials such as foam or fabric. They offer less rigid support but are more comfortable for the patient. These splints are often used for sprains or strains where some movement is allowed. Examples include:
- Elastic bandages
- Soft foam splints
3. Functional Splints
Functional splints are designed to allow some movement while still providing support. They are often used in rehabilitation settings to help patients regain strength and mobility after an injury. Examples include:
- Wrist splints
- Knee braces
4. Traction Splints
Traction splints are specialized devices used primarily in emergency situations to stabilize fractures of the femur (thigh bone). They apply a pulling force to align the bone properly and reduce pain. These splints are typically used by medical professionals in pre-hospital settings.
5. Custom Splints
In some cases, a healthcare provider may recommend a custom splint tailored to the specific needs of the patient. These splints are molded to fit the unique contours of the body part being treated, ensuring optimal support and comfort.
Importance of Proper Splint Care
Regardless of the type of splint you are using, proper care is essential for effective healing. Here are some key splint care tips to keep in mind:
- Keep it clean: Regularly check the splint for any signs of dirt or moisture. If necessary, clean it according to your healthcare provider’s instructions.
- Monitor for discomfort: If you experience increased pain, swelling, or numbness, contact your healthcare provider immediately.
- Avoid wetting: Most splints are not waterproof. Protect your splint from water to prevent damage and maintain hygiene.
- Follow your doctor’s advice: Adhere to the recommended duration for wearing the splint and any follow-up appointments.
For more detailed information on splint care and other health-related topics, consider visiting Yesil Health AI, a valuable resource for evidence-based health answers.
Conclusion
Understanding what a splint is and the various types available can significantly impact your recovery process. By following these splint care tips, you can ensure that your injury heals properly and efficiently. Remember, your health is your wealth, so take care of your body and seek professional advice when needed! 🌟
When to Use a Splint
Splints are essential medical devices designed to immobilize and support injured or fractured limbs. Understanding when to use a splint can significantly impact recovery and prevent further injury. Here are some common scenarios where splinting is necessary:
1. Fractures
If you suspect a fracture, whether it’s a hairline crack or a complete break, applying a splint can help stabilize the bone. This is crucial in preventing movement that could worsen the injury. Always seek medical attention for a proper diagnosis and treatment.
2. Sprains and Strains
In cases of severe sprains or strains, a splint can provide the necessary support to the affected joint or muscle. This helps reduce swelling and pain while promoting healing. Remember to follow the R.I.C.E method (Rest, Ice, Compression, Elevation) alongside splinting for optimal recovery.
3. Tendon Injuries
Tendon injuries, such as tendonitis or ruptures, may require splinting to limit movement and allow the tendon to heal properly. A splint can help maintain the affected area in a neutral position, reducing strain on the tendon.
4. Post-Surgery Support
After certain surgical procedures, especially orthopedic surgeries, a splint may be necessary to protect the surgical site and ensure proper healing. Your healthcare provider will guide you on the appropriate type of splint and duration of use.
5. Dislocations
In the event of a dislocation, a splint can help immobilize the joint until medical help is available. It’s important to avoid attempting to realign the joint yourself, as this can cause further damage.
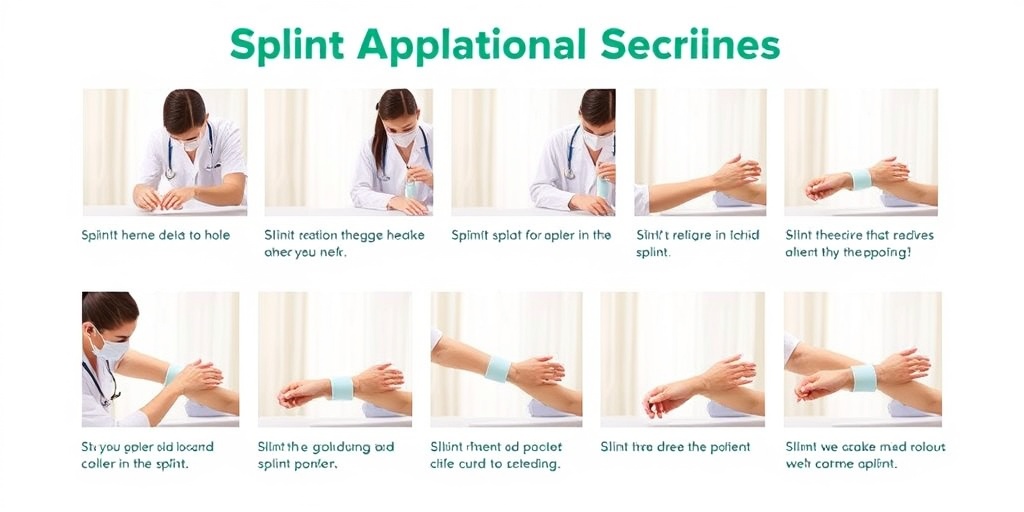
Splint Application Techniques
Applying a splint correctly is vital for effective immobilization and comfort. Here are some essential splint application techniques to ensure proper use:
1. Gather Your Materials
Before applying a splint, make sure you have the following materials:
- Splinting material: This can be a pre-made splint, a rolled magazine, or a piece of cardboard.
- Padding: Use soft materials like gauze, cloth, or foam to cushion the splint.
- Bandages or tape: These will secure the splint in place.
2. Assess the Injury
Before applying a splint, assess the injury. Look for signs of swelling, bruising, or deformity. If the area is bleeding, apply gentle pressure to control it before splinting.
3. Position the Limb
Gently position the injured limb in a comfortable position. For fractures, it’s best to keep the limb in the position you found it, as moving it could cause further injury.
4. Apply Padding
Wrap the padding around the injured area to provide cushioning. This step is crucial to prevent discomfort and skin irritation from the splint.
5. Secure the Splint
Place the splint alongside the injured limb, ensuring it extends beyond the joints above and below the injury. Use bandages or tape to secure the splint in place, making sure it’s snug but not too tight. You should be able to fit a finger between the splint and the skin.
6. Check Circulation
After securing the splint, check for proper circulation. Look for signs such as:
- Color: The skin should not appear pale or blue.
- Temperature: The area should feel warm, not cold.
- Sensation: The person should be able to feel light touch or pressure.
7. Seek Medical Attention
Regardless of the injury, it’s essential to seek medical attention after applying a splint. A healthcare professional will provide a thorough evaluation and recommend further treatment.
By following these splint care tips, you can ensure that the injured area is properly supported, promoting healing and reducing discomfort. Remember, splints are temporary solutions, and professional medical advice is always recommended for serious injuries. 🩹
Splint Care and Maintenance
When you or a loved one is prescribed a splint, understanding how to care for it is crucial for effective healing. Proper splint care not only ensures comfort but also promotes recovery. Here are some essential tips to help you maintain your splint effectively.
1. Keep It Clean
Maintaining hygiene is vital when it comes to splint care. Here are some steps to follow:
- Wash your hands before touching the splint to prevent introducing bacteria.
- Use a damp cloth to gently wipe the exterior of the splint. Avoid soaking it in water, as this can weaken the material.
- If your splint has a removable liner, wash it according to the manufacturer’s instructions.
2. Monitor for Moisture
Moisture can lead to skin irritation and complications. To prevent this:
- Keep the splint dry, especially if it’s made of materials that can absorb water.
- If you sweat excessively, consider using a moisture-wicking liner or padding.
- In case of accidental wetting, dry the splint thoroughly before reapplying it.
3. Adjust for Comfort
As your injury heals, you may need to adjust the splint for comfort:
- Check for any signs of tightness or discomfort. If the splint feels too tight, consult your healthcare provider for adjustments.
- Ensure that the splint is not causing any pressure points on your skin.
4. Follow Your Doctor’s Instructions
Your healthcare provider will give specific instructions regarding the duration of splint use and any necessary adjustments. Always adhere to these guidelines to ensure optimal healing.
5. Regular Check-ups
Schedule regular follow-ups with your healthcare provider to monitor your progress. They can assess the fit and effectiveness of the splint and make any necessary changes.
Signs of Complications
While splints are designed to aid in recovery, complications can arise. Being aware of the signs of complications is essential for timely intervention. Here are some symptoms to watch for:
1. Increased Pain or Discomfort
If you experience a sudden increase in pain or discomfort in the area where the splint is applied, it may indicate a problem. This could be due to improper fit or worsening of the injury. Contact your healthcare provider if this occurs.
2. Swelling or Numbness
Swelling beyond the normal range or numbness in the fingers or toes can be a sign that the splint is too tight or that circulation is compromised. If you notice these symptoms:
- Loosen the splint if possible.
- Seek medical advice immediately.
3. Skin Irritation or Breakdown
Prolonged use of a splint can lead to skin irritation or breakdown. Look for:
- Redness, blistering, or peeling skin.
- Unusual odors, which may indicate infection.
If you notice any of these signs, it’s important to consult your healthcare provider for evaluation and possible treatment.
4. Changes in Color
Changes in the color of your fingers or toes can indicate circulation issues. If you notice:
- Blue or pale coloration,
- Coldness compared to the other limb,
these could be signs of serious complications. Seek medical attention promptly.
5. Unusual Sounds or Movement
If your splint makes unusual sounds or if you feel unexpected movement in the area, it may not be providing the necessary support. This could indicate that the splint has become damaged or misaligned. Contact your healthcare provider for further evaluation.
By following these splint care tips and being vigilant about potential complications, you can ensure a smoother recovery process. Remember, your health is paramount, so don’t hesitate to reach out to your healthcare provider with any concerns! 🩺✨

Removing a Splint Safely
Removing a splint can be a daunting task, especially if you’re unsure about the process. It’s essential to approach this step with care to avoid any injury or discomfort. Here are some key tips to ensure you remove your splint safely:
1. Consult Your Healthcare Provider
Before attempting to remove your splint, it’s crucial to consult with your healthcare provider. They can provide specific instructions based on your condition and the type of splint you have. Always follow their guidance to ensure a safe removal process.
2. Gather Necessary Tools
Having the right tools can make the removal process smoother. You may need:
- Scissors: If your splint is secured with tape or bandages, a pair of blunt-ended scissors can help.
- Moisturizing lotion: This can help ease any discomfort from skin irritation after the splint is removed.
- Clean cloth: To wipe down the area after removal.
3. Prepare the Area
Find a comfortable and well-lit space to remove your splint. Make sure you have everything you need within reach. This will help you focus on the task without unnecessary distractions.
4. Loosen the Fastenings
Carefully loosen any straps, tapes, or fastenings holding the splint in place. If the splint is stuck due to swelling or moisture, gently wiggle it to free it without pulling too hard.
5. Remove the Splint Gradually
Once the fastenings are loosened, slowly and gently remove the splint. If you experience any pain or discomfort, stop immediately and consult your healthcare provider. It’s important to listen to your body during this process.
6. Inspect the Area
After removing the splint, take a moment to inspect the skin underneath. Look for any signs of irritation, redness, or swelling. If you notice anything unusual, contact your healthcare provider for advice.
7. Clean the Area
Once you’ve removed the splint and inspected the area, gently clean the skin with a mild soap and water. Pat it dry with a clean cloth. If you have any skin irritation, applying a soothing lotion can help alleviate discomfort.
Post-Splint Rehabilitation Tips
After removing your splint, it’s essential to focus on rehabilitation to regain strength and mobility. Here are some effective post-splint rehabilitation tips to help you on your recovery journey:
1. Follow a Rehabilitation Plan
Your healthcare provider may recommend a rehabilitation plan tailored to your needs. This plan often includes specific exercises to strengthen the affected area and improve flexibility. Adhering to this plan is crucial for a successful recovery.
2. Start with Gentle Exercises
Begin with gentle range-of-motion exercises to help restore mobility. Simple movements can include:
- Wrist circles: Rotate your wrist in both directions to improve flexibility.
- Finger stretches: Gently stretch your fingers to regain strength.
- Elbow bends: Slowly bend and straighten your elbow to enhance movement.
3. Gradually Increase Intensity
As you become more comfortable with the exercises, gradually increase the intensity and duration. This can include adding resistance bands or weights to your routine. Always listen to your body and avoid pushing yourself too hard too soon.
4. Incorporate Physical Therapy
If recommended by your healthcare provider, consider working with a physical therapist. They can provide personalized guidance and support, ensuring you perform exercises correctly and safely.
5. Stay Hydrated and Nourished
Proper hydration and nutrition play a vital role in recovery. Drink plenty of water and consume a balanced diet rich in vitamins and minerals to support healing. Foods high in protein, calcium, and vitamin D are particularly beneficial for bone and muscle recovery.
6. Monitor Your Progress
Keep track of your progress throughout the rehabilitation process. Note any improvements in strength, flexibility, and pain levels. This information can be valuable for discussions with your healthcare provider and can help adjust your rehabilitation plan as needed.
7. Be Patient and Stay Positive
Recovery takes time, and it’s essential to be patient with yourself. Celebrate small victories along the way and maintain a positive mindset. Surround yourself with supportive friends and family who can encourage you during your rehabilitation journey. 🌟

Frequently Asked Questions about Splint Care Tips
What are the best practices for cleaning my splint?
To ensure your splint remains hygienic and effective, follow these cleaning tips:
- Use mild soap and warm water to gently clean the splint.
- Avoid soaking the splint, as this can damage its structure.
- Rinse thoroughly and allow it to air dry completely before reapplying.
How often should I check my splint for wear and tear?
It’s important to regularly inspect your splint for any signs of damage or wear. Check at least once a week for:
- Cracks or breaks in the material.
- Loose straps or fasteners.
- Signs of odor or moisture buildup.
Can I wear my splint while sleeping?
Whether you can wear your splint while sleeping depends on your specific condition. Consult your healthcare provider, but generally:
- Wearing it at night can provide additional support.
- Ensure it is comfortable and does not restrict circulation.
What should I do if my splint feels too tight?
If your splint feels too tight, it may cause discomfort or restrict blood flow. Here are some steps to take:
- Loosen the straps or fasteners slightly.
- Remove the splint for a short period to relieve pressure.
- Consult your healthcare provider if the issue persists.
How long should I wear my splint each day?
The duration for wearing your splint varies based on your injury or condition. Typically, you should wear it:
- As directed by your healthcare provider.
- During activities that may aggravate your injury.
- For a specified number of hours each day, as recommended.
Are there any activities I should avoid while wearing a splint?
Yes, certain activities may put undue stress on your injury. Avoid:
- High-impact sports or exercises.
- Activities that require extensive use of the affected area.
- Any movements that cause pain or discomfort.
What should I do if my splint gets wet?
If your splint gets wet, it’s important to dry it properly to prevent damage:
- Remove the splint immediately.
- Pat it dry with a towel and allow it to air dry completely.
- Avoid using heat sources, as they can warp the splint.
When should I contact my healthcare provider regarding my splint?
You should reach out to your healthcare provider if you experience:
- Increased pain or swelling.
- Signs of infection, such as redness or warmth.
- Any issues with the fit or function of the splint.
By following these Splint Care Tips, you can ensure that your splint remains effective and comfortable throughout your recovery process. If you have any further questions, don’t hesitate to consult your healthcare professional! 😊


