
What You Need to Know About Ticks
Ticks are tiny, eight-legged arachnids that feed on the blood of animals and humans. They’re commonly found in wooded, bushy, and grassy areas, and can be a nuisance to outdoor enthusiasts and pet owners alike. But did you know that ticks can also transmit serious diseases like Lyme disease, Rocky Mountain spotted fever, and anaplasmosis? 🐜
The Life Cycle of a Tick
Ticks go through four stages of development: egg, larva, nymph, and adult. Each stage requires a blood meal to survive, and they can feed on different hosts at each stage. Adult ticks typically feed on larger animals like deer, while nymphs and larvae feed on smaller animals like mice and birds.
Types of Ticks
There are over 900 species of ticks, but only a few are commonly found in North America. The most common species include:
- Blacklegged tick (Ixodes scapularis): Found in the northeastern and midwestern United States, this tick is responsible for transmitting Lyme disease.
- Lone star tick (Amblyomma americanum): Found in the southeastern and midwestern United States, this tick is responsible for transmitting southern tick-associated rash illness (STARI).
- American dog tick (Dermacentor variabilis): Found throughout the United States, this tick is responsible for transmitting Rocky Mountain spotted fever.
How to Identify a Tick Bite
If you’ve been bitten by a tick, it’s essential to identify the bite and remove the tick as soon as possible to reduce the risk of disease transmission. Here’s what you need to know:
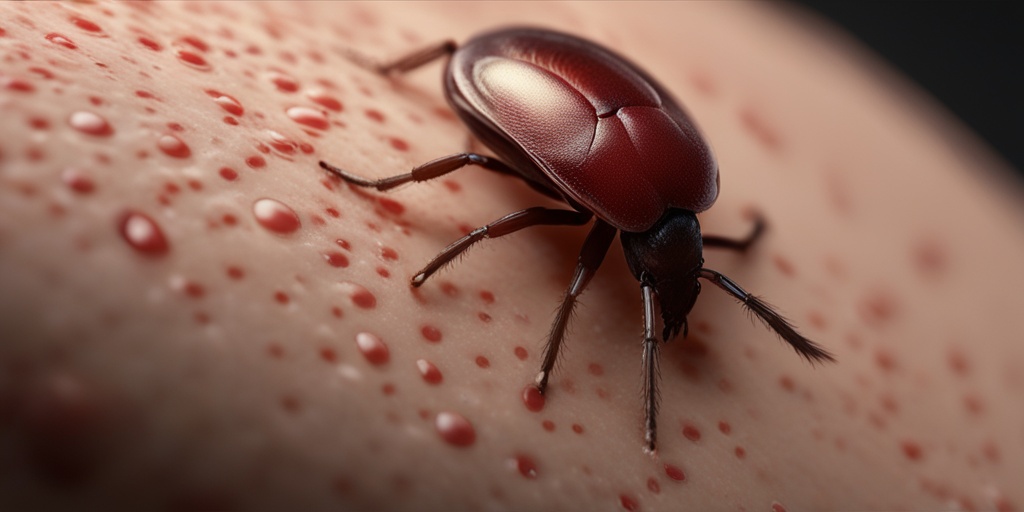
What Does a Tick Bite Look Like?
A tick bite can appear as a small, red, itchy bump on the skin. It may resemble a mosquito bite or a small rash. In some cases, a tick bite can cause a bull’s-eye rash, which is a circular rash with a clear center and a red outer ring. This rash is a distinctive sign of Lyme disease.
How to Identify a Tick on Your Body
Ticks often attach to areas of the body with thin skin, such as the armpits, groin, and scalp. They can also attach to areas with folds in the skin, like the elbows and knees. To identify a tick on your body, look for:
- A small, dark spot on the skin
- A tiny, moving bump on the skin
- A small, red, itchy bump on the skin
If you suspect you’ve been bitten by a tick, it’s essential to remove the tick as soon as possible and seek medical attention if you experience any symptoms of tick-borne illnesses.
Remember, prevention is key when it comes to tick bites. Wear protective clothing, apply insect repellent, and conduct regular tick checks on yourself, your children, and your pets when spending time outdoors.
For more information on tick-borne illnesses and how to prevent them, visit Yesil Health AI, a valuable resource for evidence-based health answers. 🌿
Risks of Not Removing a Tick Properly
When it comes to removing a tick, it’s not just about getting it off your skin as quickly as possible. Improper removal can lead to some serious health risks, and it’s essential to take the right steps to avoid these complications. 🚨
Infection and Disease Transmission
One of the most significant risks of not removing a tick properly is the transmission of diseases like Lyme disease, Rocky Mountain spotted fever, and anaplasmosis. Ticks can carry these diseases in their saliva, and if they’re not removed correctly, they can transmit them to humans or animals. According to the Centers for Disease Control and Prevention (CDC), Lyme disease is the most common vector-borne illness in the United States, with over 47,000 cases reported in 2020 alone.
Tick Head and Mouthparts Left Behind
When a tick is removed improperly, its head and mouthparts can be left behind, leading to infection, inflammation, and even abscesses. This can be particularly problematic if the tick’s mouthparts are embedded deep in the skin, making it difficult to remove them completely. 🤕
Allergic Reactions and Anaphylaxis
In some cases, people may be allergic to tick saliva, which can cause an allergic reaction or even anaphylaxis when a tick bites. If a tick is not removed properly, the risk of an allergic reaction increases, and in severe cases, it can be life-threatening. 🚑
The Importance of Prompt Tick Removal
Given the risks associated with improper tick removal, it’s crucial to remove ticks promptly and correctly. The sooner you remove a tick, the lower the risk of disease transmission and other complications. ⏰
Reducing the Risk of Disease Transmission
The CDC recommends removing a tick within 36 hours of attachment to reduce the risk of Lyme disease transmission. The longer a tick is attached, the higher the risk of disease transmission. By removing a tick promptly, you can significantly reduce the risk of getting sick.
Preventing Infection and Inflammation
Prompt tick removal also helps prevent infection and inflammation. When a tick is removed correctly, the risk of infection and inflammation decreases, and the wound can heal faster. 🏥
Remember, removing a tick is not just about getting it off your skin; it’s about doing it correctly to avoid serious health risks. By taking the right steps, you can reduce the risk of disease transmission, infection, and other complications. Stay safe, and stay informed! 🌟

Preparing for Tick Removal
Before we dive into the step-by-step process of removing a tick, it’s essential to prepare yourself with the right tools and knowledge. Removing a tick can be a daunting task, especially if you’re not familiar with the process. However, with the right preparation, you can increase your chances of removing the tick safely and effectively.
What You’ll Need
To remove a tick, you’ll need a few simple tools. Make sure you have the following items ready:
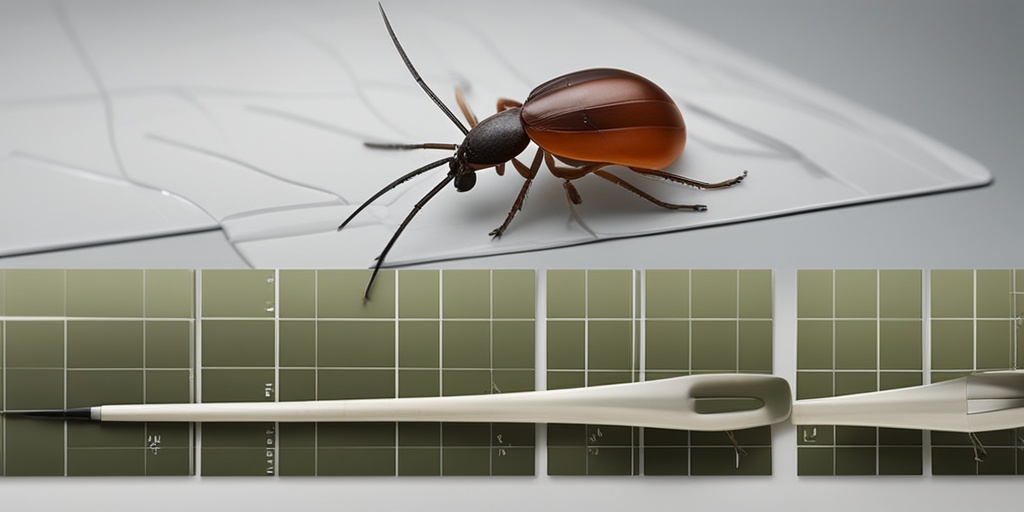
- A pair of fine-tipped tweezers
- A clean container or ziplock bag
- Alcohol or antiseptic wipes
- A magnifying glass or lamp (optional)
It’s also a good idea to have a first-aid kit nearby, just in case.
Identifying the Tick
Before you start the removal process, take a closer look at the tick. Identify the type of tick you’re dealing with, as some species can transmit diseases like Lyme disease. Take note of the tick’s size, color, and any distinctive markings.
🐜 Did you know that there are over 900 species of ticks? However, only a few species are known to transmit diseases to humans and animals.
Step-by-Step Instructions for Removing a Tick
Now that you’re prepared, it’s time to remove the tick. Follow these step-by-step instructions carefully to ensure a safe and effective removal:
Step 1: Grasp the Tick
Using your fine-tipped tweezers, grasp the tick as close to the skin as possible. Make sure to get a good grip on the tick’s head, not its body.
Important: Avoid squeezing the tick’s body, as this can cause the tick to regurgitate its saliva, increasing the risk of disease transmission.
Step 2: Pull the Tick Out
Slowly and steadily pull the tick out of the skin. Try to pull upwards, rather than sideways, to minimize the risk of breaking the tick’s head off.
👍 Take your time, and be patient. It may take a few seconds for the tick to release its grip on the skin.
Step 3: Clean the Area
Once the tick is removed, clean the area with alcohol or antiseptic wipes to prevent infection.
Step 4: Dispose of the Tick
Place the tick in a clean container or ziplock bag and label it with the date and location of the bite. This can be helpful for identification and testing purposes.
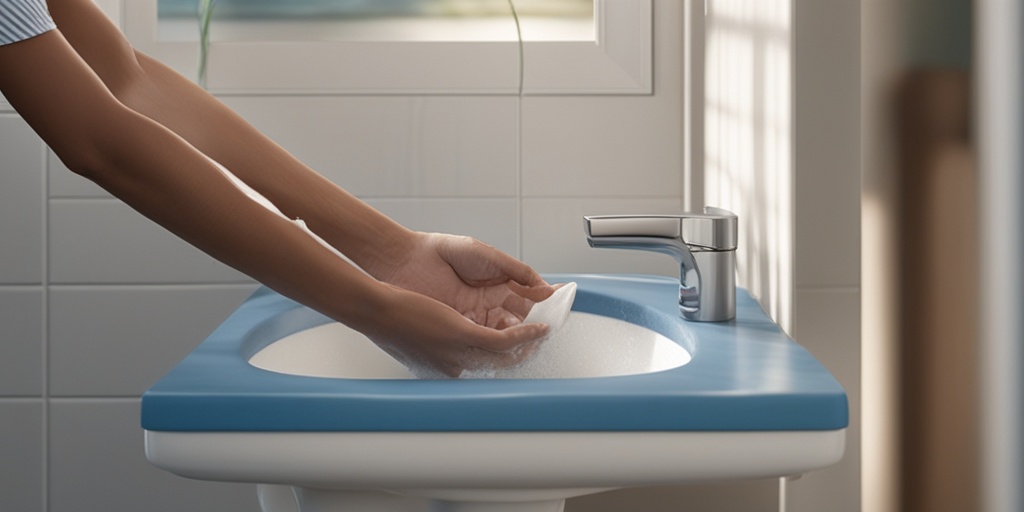
📝 Remember to wash your hands thoroughly after handling the tick.
By following these steps and preparing yourself with the right tools and knowledge, you can safely and effectively remove a tick. Remember to stay calm and patient, and don’t hesitate to seek medical attention if you experience any symptoms after a tick bite.
How to Remove a Tick Head or Mouthparts
Removing a tick can be a daunting task, especially when it comes to dealing with the pesky head or mouthparts left behind. 🐜 But don’t worry, we’ve got you covered! In this section, we’ll guide you through the steps to safely remove a tick head or mouthparts from your skin or your pet’s skin.
Why Is It Important to Remove the Tick Head or Mouthparts?
Leaving the tick head or mouthparts behind can lead to infection, inflammation, and even the transmission of tick-borne diseases like Lyme disease. 🤕 It’s crucial to remove the entire tick, including the head and mouthparts, to minimize the risk of complications.
Step-by-Step Guide to Removing a Tick Head or Mouthparts
Follow these steps to remove a tick head or mouthparts:
- Use fine-tipped tweezers: Grab the tweezers as close to the skin as possible and gently grasp the tick head or mouthparts.
- Pull upwards with steady, even pressure: Slowly and steadily pull the tweezers upwards, away from the skin. Avoid jerking or twisting motions, which can cause the mouthparts to break off and remain in the skin.
- Continue to pull until the head or mouthparts are removed: Keep pulling until the entire tick head or mouthparts are removed from the skin.
- Clean the area with soap and water: Once the tick head or mouthparts are removed, clean the area with soap and water to prevent infection.
What If the Tick Head or Mouthparts Break Off?
If the tick head or mouthparts break off during removal, don’t panic! 🙅♂️ Simply follow these steps:
- Leave the broken piece alone: Avoid trying to remove the broken piece, as this can cause further irritation and increase the risk of infection.
- Monitor for signs of infection: Keep an eye on the affected area for signs of infection, such as redness, swelling, or increased pain.
- Seek medical attention if necessary: If you experience any symptoms of infection or if the broken piece remains in the skin for an extended period, seek medical attention.
After Tick Removal: What to Do Next
Congratulations! You’ve successfully removed the tick. 🎉 Now, it’s essential to take the next steps to ensure your safety and prevent potential tick-borne diseases.
Save the Tick for Testing (Optional)
If you want to get the tick tested for diseases, place it in a sealed container or ziplock bag and label it with the date and location of the bite. You can then take the tick to a healthcare professional or a laboratory for testing.
Monitor for Symptoms
Keep an eye on the affected area and monitor for symptoms of tick-borne diseases, such as:
- Fever
- Chills
- Headache
- Fatigue
- Rash or redness at the bite site
If you experience any of these symptoms, seek medical attention promptly. ⏰
Take Preventative Measures
To avoid future tick encounters, take preventative measures such as:
- Wearing protective clothing and applying insect repellents when outdoors
- Conducting regular tick checks on yourself, children, and pets
- Removing any attached ticks promptly and correctly
By following these steps, you’ll be well on your way to preventing tick-borne diseases and staying safe in the great outdoors! 🌳
Frequently Asked Questions about Removing Ticks
General Tick Removal Questions
Here are some frequently asked questions about removing ticks:
What is the best way to remove a tick?
Use fine-tipped tweezers to grasp the tick as close to the skin as possible and pull upwards with steady, even pressure. Do not twist or jerk the tick, which can cause mouthparts to break off and remain in the skin.
How do I remove a tick from a hard-to-reach area?
If you cannot reach the tick, consider enlisting the help of a friend or family member. Alternatively, you can use a tick removal tool or consult a healthcare professional.
Removing Ticks from Specific Individuals
Here are some FAQs about removing ticks from specific individuals:
How do I remove a tick from a child?
Removing a tick from a child is similar to removing one from an adult. However, it’s essential to be gentle and patient, as children may be more anxious or frightened.
How do I remove a tick from my dog or cat?
Removing a tick from a pet is similar to removing one from a human. Use fine-tipped tweezers and grasp the tick as close to the skin as possible. Be careful not to squeeze the tick, which can cause saliva to be released into the pet’s bloodstream.
Common Concerns and Misconceptions
Here are some FAQs that address common concerns and misconceptions about removing ticks:
Will a tick’s head break off if I remove it incorrectly?
Yes, if you remove a tick incorrectly, its head can break off and remain in the skin. This can lead to infection or allergic reactions. It’s essential to remove the tick correctly to avoid this.
Can I use home remedies to remove a tick?
No, home remedies such as petroleum jelly, nail polish, or heat are not effective in removing ticks and can cause the tick to burrow deeper into the skin, increasing the risk of infection.
How do I dispose of a tick after removal?
Place the removed tick in a sealed container or ziplock bag and mark the date and location of the bite. This can be helpful in case you need to identify the tick later.
Additional Resources
If you have further questions or concerns about removing ticks, consult a healthcare professional or visit a trusted online resource, such as the Centers for Disease Control and Prevention (CDC) or the American Academy of Dermatology.


