
Understanding Insulin Therapy
Insulin therapy is a crucial aspect of managing diabetes, especially in children. For parents and caregivers, understanding how to give insulin shots to a child can be daunting. However, with the right knowledge and preparation, it can become a manageable part of daily life. Insulin is a hormone that helps regulate blood sugar levels, and when the body cannot produce enough of it, insulin injections become necessary.
What is Insulin?
Insulin is a hormone produced by the pancreas that allows cells to absorb glucose from the bloodstream. In children with diabetes, particularly Type 1 diabetes, the pancreas either produces little to no insulin. This is where insulin therapy comes into play. By administering insulin through injections, parents can help their children maintain stable blood sugar levels, preventing complications associated with diabetes.
Types of Insulin
There are several types of insulin, each with different onset times, peaks, and durations. Understanding these can help in managing your child’s diabetes effectively:
- Rapid-acting insulin: Starts working within 15 minutes and lasts for 2-4 hours.
- Short-acting insulin: Takes about 30 minutes to start working and lasts for 3-6 hours.
- Intermediate-acting insulin: Begins to work in 2-4 hours and lasts for 10-16 hours.
- Long-acting insulin: Takes several hours to start working but lasts up to 24 hours.
Choosing the right type of insulin and understanding how it works is essential for effective management of your child’s diabetes. Consulting with a healthcare provider can help tailor the insulin regimen to your child’s specific needs.
How to Give Insulin Shots to a Child
Administering insulin injections may seem intimidating, but with practice, it can become a routine part of your child’s care. Here are some steps to follow:
- Gather Supplies: You will need insulin, syringes or insulin pens, alcohol wipes, and a sharps container for disposal.
- Choose the Injection Site: Common sites include the abdomen, thighs, and upper arms. Rotate sites to prevent lipodystrophy (fatty lumps under the skin).
- Prepare the Injection: Wash your hands, clean the injection site with an alcohol wipe, and prepare the insulin according to the instructions.
- Administer the Injection: Pinch the skin, insert the needle at a 90-degree angle, and inject the insulin. Withdraw the needle and apply gentle pressure with a cotton ball.
- Dispose of the Needle Safely: Place the used needle in a sharps container immediately.
With practice, both you and your child can become comfortable with this process. It’s important to reassure your child and explain what is happening to help alleviate any fears they may have.
When Is Insulin Needed?
Determining when insulin is needed for a child can be complex and should always be guided by a healthcare professional. However, there are some common scenarios where insulin therapy becomes necessary:
Type 1 Diabetes Diagnosis
Children diagnosed with Type 1 diabetes will require insulin therapy from the outset. This autoimmune condition means the body cannot produce insulin, making it essential for managing blood sugar levels.
Type 2 Diabetes Management
In some cases, children with Type 2 diabetes may also need insulin, especially if lifestyle changes and oral medications are not sufficient to control blood sugar levels. Factors that may indicate the need for insulin include:
- Consistently high blood sugar readings
- Symptoms of hyperglycemia (increased thirst, frequent urination)
- Difficulty managing weight
Illness or Stress
During periods of illness or significant stress, a child’s insulin needs may change. It’s crucial to monitor blood sugar levels closely during these times and consult with a healthcare provider for guidance on adjusting insulin doses.
In conclusion, understanding insulin therapy and knowing when insulin is needed are vital for managing a child’s diabetes effectively. For more information and resources, consider visiting Yesil Health AI, where you can find evidence-based answers to your health questions. Remember, with the right support and knowledge, managing diabetes can become a seamless part of your child’s life. 🌟

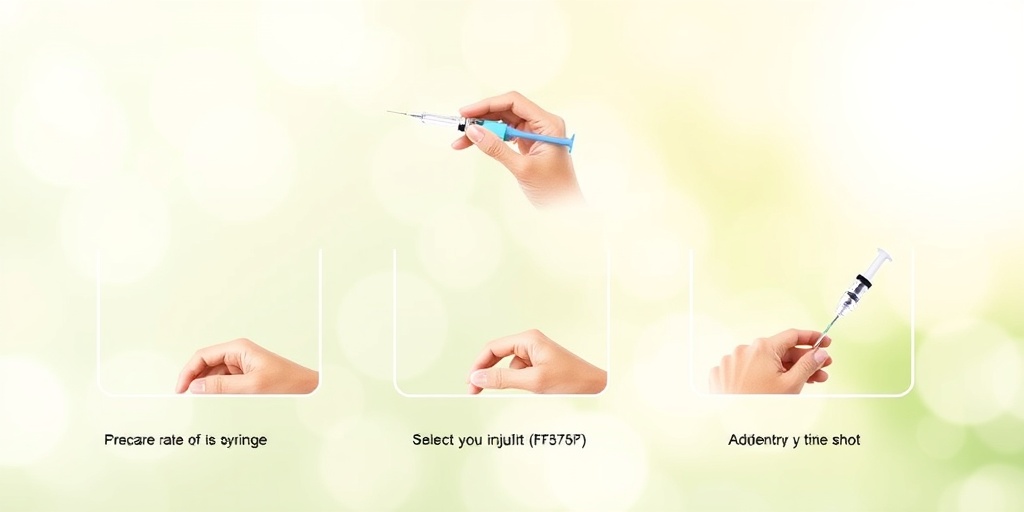
Preparing for the Shot
Giving insulin shots to a child can be a daunting task for both parents and caregivers. However, with the right preparation, it can become a manageable routine. Here are some essential steps to ensure a smooth experience:
Gather Your Supplies
Before administering an insulin shot, it’s crucial to have all necessary supplies on hand. This includes:
- Insulin vial or pen: Ensure you have the correct type of insulin prescribed by your child’s healthcare provider.
- Syringes or insulin pen: Depending on the method of administration, gather the appropriate syringes or insulin pen.
- Alcohol swabs: These are used to clean the injection site before administering the shot.
- Sharps container: For safe disposal of needles and syringes.
Choose the Right Injection Site
Knowing where to give the injection is vital. Common child insulin injection sites include:
- Abdomen: This is often the preferred site as it allows for quicker absorption.
- Thighs: The outer thigh is another good option, especially for children.
- Upper arms: The back of the arm can also be used, but it may be less accessible.
Make sure to rotate injection sites to prevent lipodystrophy, a condition that can occur from repeated injections in the same area.
Prepare Your Child
It’s essential to prepare your child both physically and emotionally for the insulin shot. Here are some tips:
- Explain the process: Use simple language to explain why the shot is necessary and what to expect.
- Practice relaxation techniques: Encourage deep breathing or distraction techniques, such as counting or singing, to help ease anxiety.
- Involve them in the process: Allow your child to participate in gathering supplies or choosing the injection site, which can empower them.
Steps to Administer Insulin
Once you’ve prepared both yourself and your child, it’s time to administer the insulin shot. Follow these steps for a safe and effective injection:
Step 1: Wash Your Hands
Start by washing your hands thoroughly with soap and water. This helps prevent any potential infections and ensures a clean environment for the injection.
Step 2: Clean the Injection Site
Using an alcohol swab, clean the chosen injection site in a circular motion. Allow the area to dry completely to minimize discomfort during the injection.
Step 3: Prepare the Insulin
If using a vial, draw the prescribed amount of insulin into the syringe. If using an insulin pen, follow the manufacturer’s instructions to prepare the pen for injection. Always double-check the dosage to ensure accuracy.
Step 4: Administer the Injection
Hold the syringe like a dart and insert it into the skin at a 90-degree angle (or 45 degrees for thinner children). Inject the insulin slowly and steadily. If using an insulin pen, press the button to deliver the dose.
Step 5: Withdraw the Needle
After the insulin is injected, withdraw the needle quickly and apply gentle pressure to the injection site with a cotton ball or gauze. You can also apply a band-aid if necessary.
Step 6: Dispose of the Needle Safely
Immediately place the used syringe or pen in a sharps container. This is crucial for safety and to prevent needle-stick injuries.
Step 7: Comfort Your Child
After the injection, offer comfort and reassurance to your child. A small reward or praise can help create a positive association with the process. Remember, can teachers give insulin injections? In some cases, trained school staff can assist, so it’s essential to communicate with your child’s school about their needs.
By following these steps and preparing adequately, giving insulin shots to a child can become a routine part of managing their diabetes. With practice and patience, both you and your child can navigate this process with confidence! 💉❤️
Common Injection Sites
When it comes to giving insulin shots to a child, knowing the right injection sites is crucial for effective management of diabetes. Proper site selection can help minimize discomfort and ensure that the insulin is absorbed efficiently. Here are the most common injection sites you should consider:
1. Abdomen
The abdomen is one of the most popular sites for insulin injections. It allows for quick absorption and is generally easy to access. When using the abdomen:
- Choose an area at least 2 inches away from the navel.
- Rotate sites within the abdomen to avoid tissue damage.
2. Thighs
The outer thigh is another effective site for insulin injections. This area can be particularly useful for children who may be more comfortable with thigh injections. Keep in mind:
- Inject into the upper outer quadrant of the thigh.
- Ensure the child is sitting or lying down to reduce anxiety.
3. Upper Arms
The upper arms can also be used for insulin injections, especially if the child is comfortable with this area. Here are some tips:
- Inject into the back of the arm, avoiding the deltoid muscle.
- Consider having the child sit or stand with their arm relaxed.
4. Buttocks
While less common, the buttocks can be used as an injection site, particularly for older children. This area may be less accessible but can be effective:
- Inject into the upper outer quadrant of the buttock.
- Ensure the child is comfortable and relaxed.
Regardless of the site chosen, it’s essential to rotate injection sites regularly to prevent lipodystrophy, a condition that can affect insulin absorption. Always consult with a healthcare provider for personalized advice on injection techniques and site selection. 🩺
Managing Side Effects
Administering insulin can sometimes lead to side effects, and being prepared can help you manage them effectively. Here are some common side effects and tips on how to handle them:
1. Hypoglycemia (Low Blood Sugar)
One of the most significant risks associated with insulin injections is hypoglycemia. Symptoms may include:
- Shakiness
- Confusion
- Excessive sweating
- Rapid heartbeat
If your child experiences these symptoms, it’s crucial to act quickly:
- Provide a quick source of sugar, such as glucose tablets or juice.
- Monitor blood sugar levels closely after treatment.
2. Injection Site Reactions
Some children may experience redness, swelling, or itching at the injection site. To manage these reactions:
- Apply a cool compress to the area to reduce swelling.
- Rotate injection sites to prevent irritation.
3. Allergic Reactions
Though rare, some children may have an allergic reaction to insulin. Signs may include:
- Rash or hives
- Difficulty breathing
- Swelling of the face or throat
If you suspect an allergic reaction, seek medical attention immediately. Always inform your healthcare provider about any adverse reactions your child experiences. 🚑
4. Weight Gain
Insulin therapy can sometimes lead to weight gain. To manage this:
- Encourage a balanced diet rich in fruits, vegetables, and whole grains.
- Incorporate regular physical activity into your child’s routine.
By being aware of these potential side effects and knowing how to manage them, you can help ensure that your child has a positive experience with insulin therapy. Always consult with your healthcare provider for tailored advice and support. 💪

Tips for Parents
Administering insulin shots to a child can be a daunting task for many parents, especially if it’s a new experience. However, with the right knowledge and preparation, you can make the process smoother and less stressful for both you and your child. Here are some essential tips to help you navigate this important responsibility:
1. Educate Yourself and Your Child
Understanding diabetes and how insulin works is crucial. Take the time to learn about:
- Types of insulin and their effects
- How insulin helps manage blood sugar levels
- Signs of high and low blood sugar
Involve your child in the learning process. Depending on their age, explain why they need insulin and how it helps them feel better. This can empower them and reduce anxiety around injections.
2. Create a Comfortable Environment
Choose a quiet, comfortable space for giving insulin shots. This can help your child feel more at ease. Consider the following:
- Ensure the area is well-lit
- Have all supplies ready (insulin, syringes, alcohol wipes)
- Use a distraction technique, like a favorite toy or video, to keep your child calm
3. Use the Right Technique
Proper technique is essential for effective insulin delivery. Here are some steps to follow:
- Wash your hands thoroughly before handling insulin.
- Rotate injection sites to prevent lipodystrophy (fat buildup under the skin). Common sites include the abdomen, thighs, and upper arms.
- Pinch the skin to create a fold and insert the needle at a 90-degree angle (or 45 degrees for thinner children).
- Inject the insulin slowly and steadily, then withdraw the needle quickly.
Practice makes perfect! Consider using a training device or a doll to help your child understand the process.
4. Encourage Independence
As your child grows, encourage them to take an active role in their diabetes management. This can include:
- Learning to prepare their injection
- Choosing their injection sites
- Understanding when to check their blood sugar levels
Fostering independence can boost their confidence and help them feel more in control of their health. 🌟
5. Communicate Openly
Keep the lines of communication open with your child. Ask them how they feel about their injections and address any fears or concerns they may have. Regular check-ins can help you gauge their comfort level and make adjustments as needed.
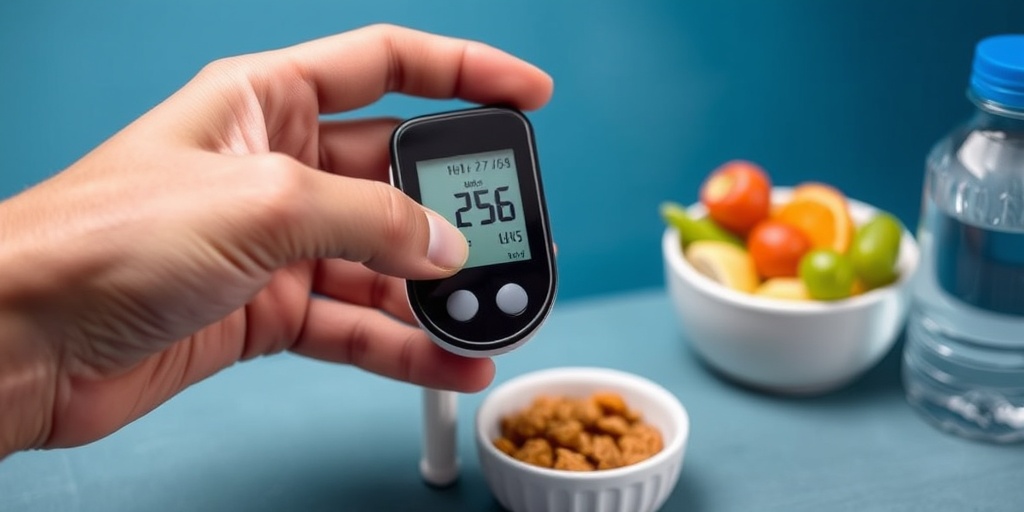
Monitoring Blood Sugar Levels
Monitoring blood sugar levels is a critical aspect of managing diabetes in children. It helps ensure that insulin doses are effective and that your child remains healthy. Here’s how to effectively monitor blood sugar levels:
1. Understand the Target Range
Work with your healthcare provider to establish a target blood sugar range for your child. This range may vary based on their age, activity level, and overall health. Generally, the target range for children is:
- Before meals: 90-130 mg/dL
- Two hours after meals: Less than 180 mg/dL
Knowing these numbers can help you make informed decisions about insulin administration and food intake.
2. Use a Reliable Glucometer
Invest in a quality glucometer that is easy to use. Make sure your child is comfortable with the device and knows how to operate it. Regularly check the device for accuracy and replace test strips as needed. 📊
3. Keep a Log
Maintaining a blood sugar log can help you track patterns and identify any issues. Include:
- Date and time of each reading
- Blood sugar levels
- Insulin doses administered
- Food intake and physical activity
This information can be invaluable during doctor visits and can help you make necessary adjustments to your child’s care plan.
4. Recognize Symptoms of High and Low Blood Sugar
Being able to identify the symptoms of high and low blood sugar is essential for timely intervention. Common symptoms include:
- High Blood Sugar: Frequent urination, increased thirst, fatigue, blurred vision
- Low Blood Sugar: Sweating, shakiness, irritability, confusion, dizziness
If your child exhibits any of these symptoms, take action immediately. Have a plan in place for treating both high and low blood sugar episodes.
5. Regular Check-Ups
Schedule regular appointments with your child’s healthcare provider to monitor their diabetes management. These check-ups can help adjust insulin doses, review blood sugar logs, and ensure your child is on track with their health goals.
By following these tips and maintaining open communication, you can help your child manage their diabetes effectively and lead a healthy, active life. 💪
Frequently Asked Questions about Giving Insulin Shots to a Child
How do I give an insulin injection to my child?
Giving an insulin injection to a child involves several steps:
- Wash your hands thoroughly.
- Gather all necessary supplies, including insulin, syringes, and alcohol swabs.
- Choose the appropriate injection site, such as the thigh, abdomen, or upper arm.
- Clean the injection site with an alcohol swab.
- Pinch the skin and insert the needle at a 90-degree angle.
- Inject the insulin slowly and remove the needle.
- Dispose of the needle safely.
What are the best sites for child insulin injections?
Common insulin injection sites for children include:
- Thighs
- Abdomen (avoiding the area around the navel)
- Upper arms
It’s important to rotate injection sites to prevent lipodystrophy (fat build-up) and ensure effective insulin absorption.
Can teachers administer insulin injections to children?
Yes, teachers can administer insulin injections to children, but this typically requires proper training and parental consent. Schools often have policies in place regarding medication administration, so it’s essential to check with the school administration.
What should I do if my child is afraid of insulin shots?
It’s common for children to feel anxious about insulin shots. Here are some tips to help ease their fears:
- Explain the process in simple terms.
- Involve them in the preparation to make them feel more in control.
- Use distraction techniques, such as toys or games, during the injection.
- Offer praise and rewards after the injection.
How can I ensure my child is comfortable during insulin injections?
To make insulin injections more comfortable for your child:
- Use a new, sharp needle for each injection.
- Warm the insulin vial in your hands before drawing it up.
- Inject at room temperature to minimize discomfort.
- Encourage deep breathing to help relax your child.
What should I do if my child experiences side effects from insulin?
If your child experiences side effects such as low blood sugar (hypoglycemia) or allergic reactions, it’s important to:
- Monitor their blood sugar levels regularly.
- Know the signs of hypoglycemia, such as sweating, shaking, or confusion.
- Have a quick source of sugar available, like glucose tablets or juice.
- Consult your child’s healthcare provider for any persistent or severe reactions.
Where can I find more resources on giving insulin shots to children?
For more information on giving insulin shots to a child, consider visiting reputable diabetes organizations, such as:
- The American Diabetes Association
- JDRF (Juvenile Diabetes Research Foundation)
- Your local healthcare provider or diabetes educator
These resources can provide valuable guidance and support for managing your child’s diabetes effectively. 😊


